Sunday, July 10, 2011

Office Bookshelf

Karla and I decided that we would refurbish a piece of furniture for my office (As my birthday present this year).  We picked this side table/shelf up at Deseret Industries for $15.
  The top of the table was open.  We figured it originally had a sheet of glass over the top. 
 Instead of cutting a large sheet of glass for the top, I routered out an edge in the top and put in a recessed piece of plexiglass.
I had to hand chisel out the corners for the glass to fit in the groove.
 I cut a small piece of 1/4" oak to span the gap in the middle so that we'd have two smaller panels of plexiglass.   The plexiglass in this picture looks foggy because I hadn't peeled off the protecting film yet.
 After sanding the varnish off the entire piece, Karla and I painted it with a glossy black paint.  We did this project in January '11, it was freezing cold in the garage every night, hence Karla's outfit. :)

This is how the final project now looks in my office.  We have since added a toy box on the bottom shelf so that the girls have something to play with when they visit for lunch.


Sunday, July 3, 2011

Piano Music Box


In 2002, I decided to make a music box shaped like a piano for my mother.  This was the result.  
 I wood burned her name "Lisa" into the top of the piano and burned each individual key onto the keyboard.  I purchased the legs from a craftstore.
 I found a little music box button meant for inserting in stuffed animals or other crafts.  It plays "My Favorite Things" from The Sound of Music. By no means is it a fancy music box that plays when you open the lid, but it still works. 
 When I built this project, I didn't know how to use a router and still used a scroll saw for everything.  I made the basic shape by stacking four layers of wood together and cutting the shape.  On two of the cut pieces, I cut out the middle and then glued them together.  If I was doing this again, I would probably try routering out a block of wood.
I remember being really proud of this project and was anxious to give it to my mom.
This was actually the first "piano" I have made.  I designed this basic piano representation as a gift to our choir director.  I later built one for my mom, just prior to making the piano above.  I also helped some friends make pianos for their senior prom dates and they wood burned various pictures/messages on the top.


Wooden Fire

I orginally built this for a Cub Scout Pack meeting where they wanted to pretend sitting next to a campfire (indoors of course).  Once I had cut it out, we ended up doing something else and I never got around to painting it or rigging in any kind of lighting.  I still think it is pretty cool though.
 The design is as basic as it could get-just two interlocking pieces.  I cut it out on the scroll saw and rounded the edges over with the router.  I think this still has some potential later on.

Mt. Rose Hike Tracker

When we moved to Reno, NV in '99, my dad and I decided to hike to the summit of Mt. Rose, a peak that overlooks the Reno area, at least once a year.  I built this little project for my dad to record how many times he had hiked the peak.  There are not enough beads now, but he now writes the dates on the sides of the beads. 

The peaks and trail marks are a rough representation of the trail.  The trailhead has since been moved about a 1/4 mile away, changing the first portion of the trail significantly.  It's a fun casual hike for most ages.

Palm Tree Pencil Holder

This was simply a random project I built in an afternoon for fun.  I wanted to try some different things with my router and ended up with the two middle blocks and I quickly threw together the rest.

 The leaves were cut out on my scroll saw and mounted on wire hanger pieces.
 Pretty random project, but whatever.

"Cortez"

This was straight-up, a gag gift for my mother and requires a brief history.

My grandparents (on my mother's side) have a 3-4' tall full body statue of Cortez at the end of the hallway in their basement.  I don't remember where they got it or why they display it (valid questions for anyone reading this post), but I do know it scared the ba-jeebers out of me, my siblings and our cousins growing up.  I remember the mental battle I would have waking up in the middle of the night, trying to figure out how I would get to the bathroom at the end of the hall without him getting me first.  I would finally do a quick dash down the hall, jump into the bathroom and shut the door.  Before I opened the bathroom door again to leave, I would turn off the light and wait for my eyes to readjust to the dark...cause heaven knows Cortez would have had me for sure if I had opened that door and wasn't able to see him.  It wasn't until we were older that all of the grandkids have since admitted to being scared out of our minds...our parent's and grandparents were completely oblivious.

I made this little Cortez bust statue for my mother just prior to my brother and sister-in-law having their first child...and thus making my mother a grandmother for the first time.  It seemed weird to us all that she was going to be a grandma, so I gave her this gag gift with a note that said something to the effect of, "Now you are ready to be a grandma."  (Note: None of her 6 grandkids are afraid of this version of Cortez...as far as we know.)   

Sunday, June 26, 2011

My First Wood Projects

Here are a few of my beginning projects when I first learned how to use a scroll saw.  While I made countless cut outs that have been lost or thrown away through the years, I knew I could count on my parents keeping anything I made for them over the years.  (You'll notice that almost 100% of the projects on this blog were given to my parents, siblings or other family members.)  I'd like to say my skills have improved since these original projects.
 Check out that masterful carpentry! jk
Good thing mothers are more concerned with effort than final design.  Love ya Mom!
Father's Day a year later, I had learned to cut shapes and paint by then.  The marker has been smeared over the years. 
 These are my first shots at puzzles.  I took pictures out of National Geographic, glued them to a board and started cutting.  You can tell by the pieces that there was no pattern, just random cuts which left some random sharp corners and odd shapes.
 The only difference with this puzzle was that I cut around the eagle and made the cut the rest of the picture into random pieces.

Brainteaser Puzzles

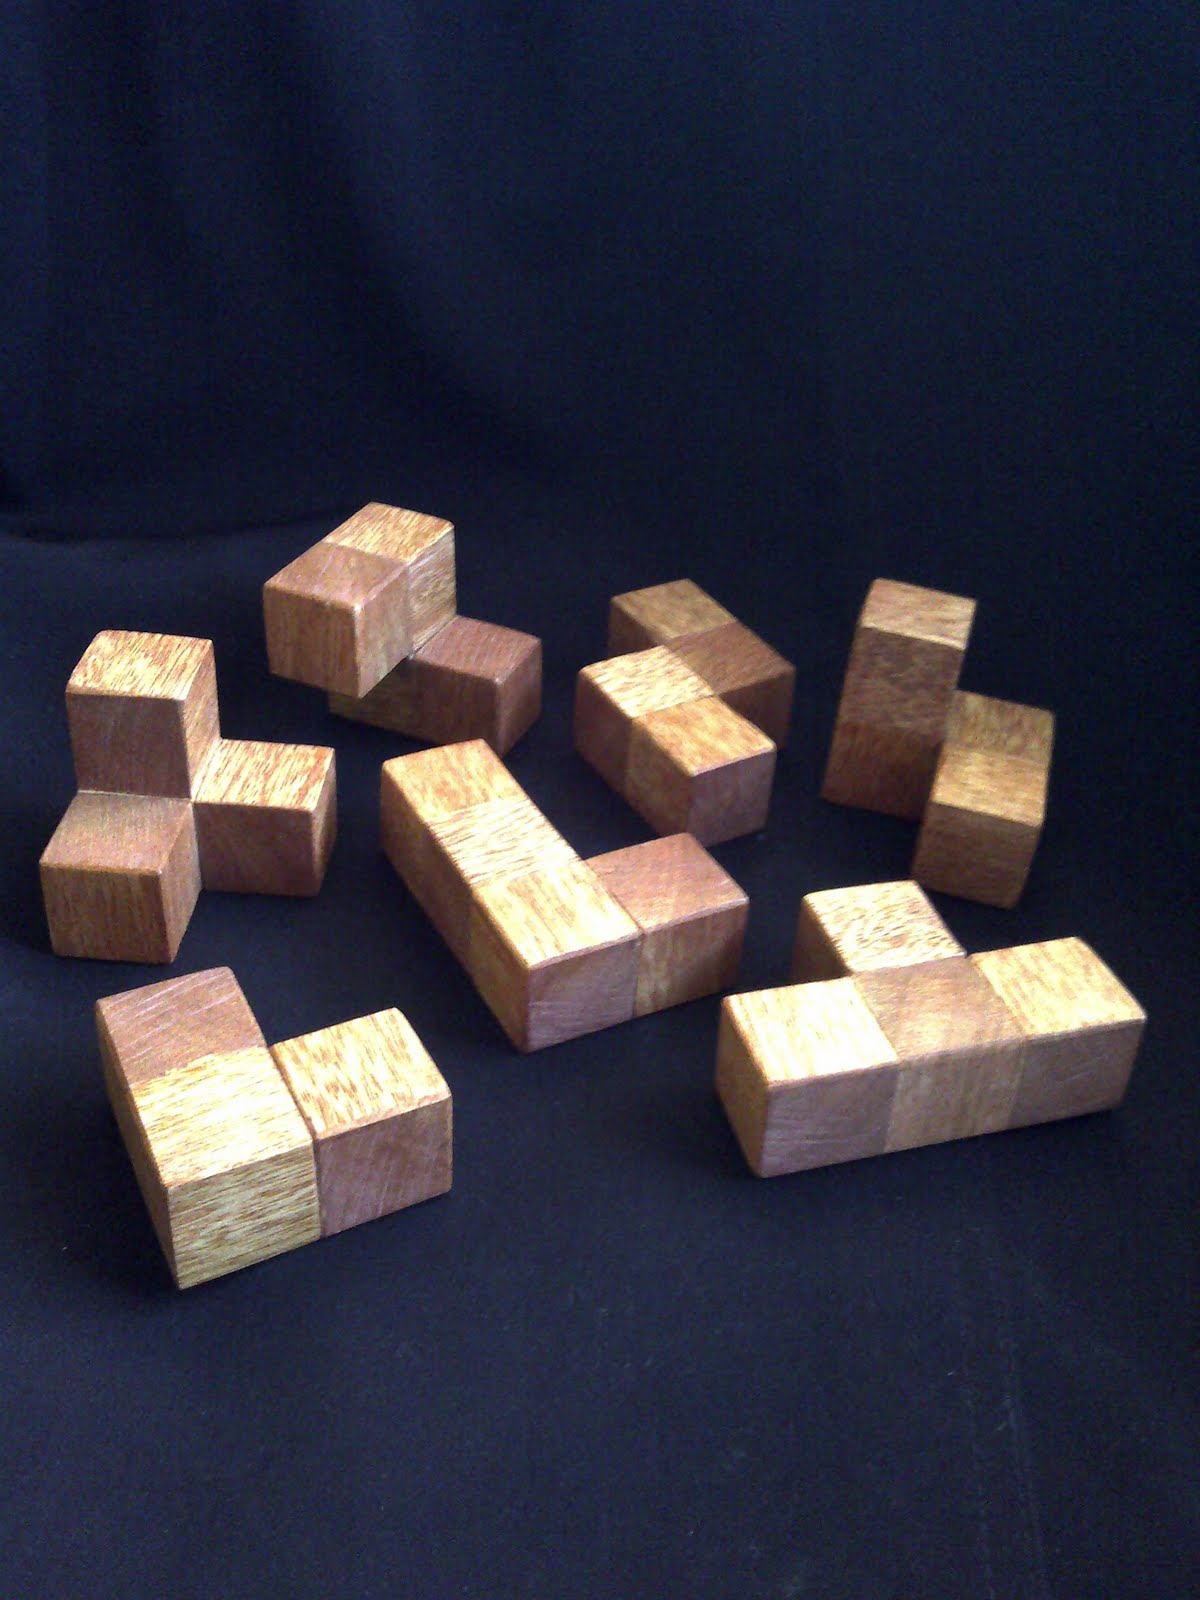
THE CUBE:  This cube consists of 7 unique pieces made of small 1" oak blocks glued together in various configurations.  The cube has multiple combinations and is fun to continually solve over and over in different ways.  I used a cherry stain which makes it a cool display item as well as a game for guests.
I slightly separated the pieces from each other to see how the individual pieces are configured.  This is just one of the many solutions.
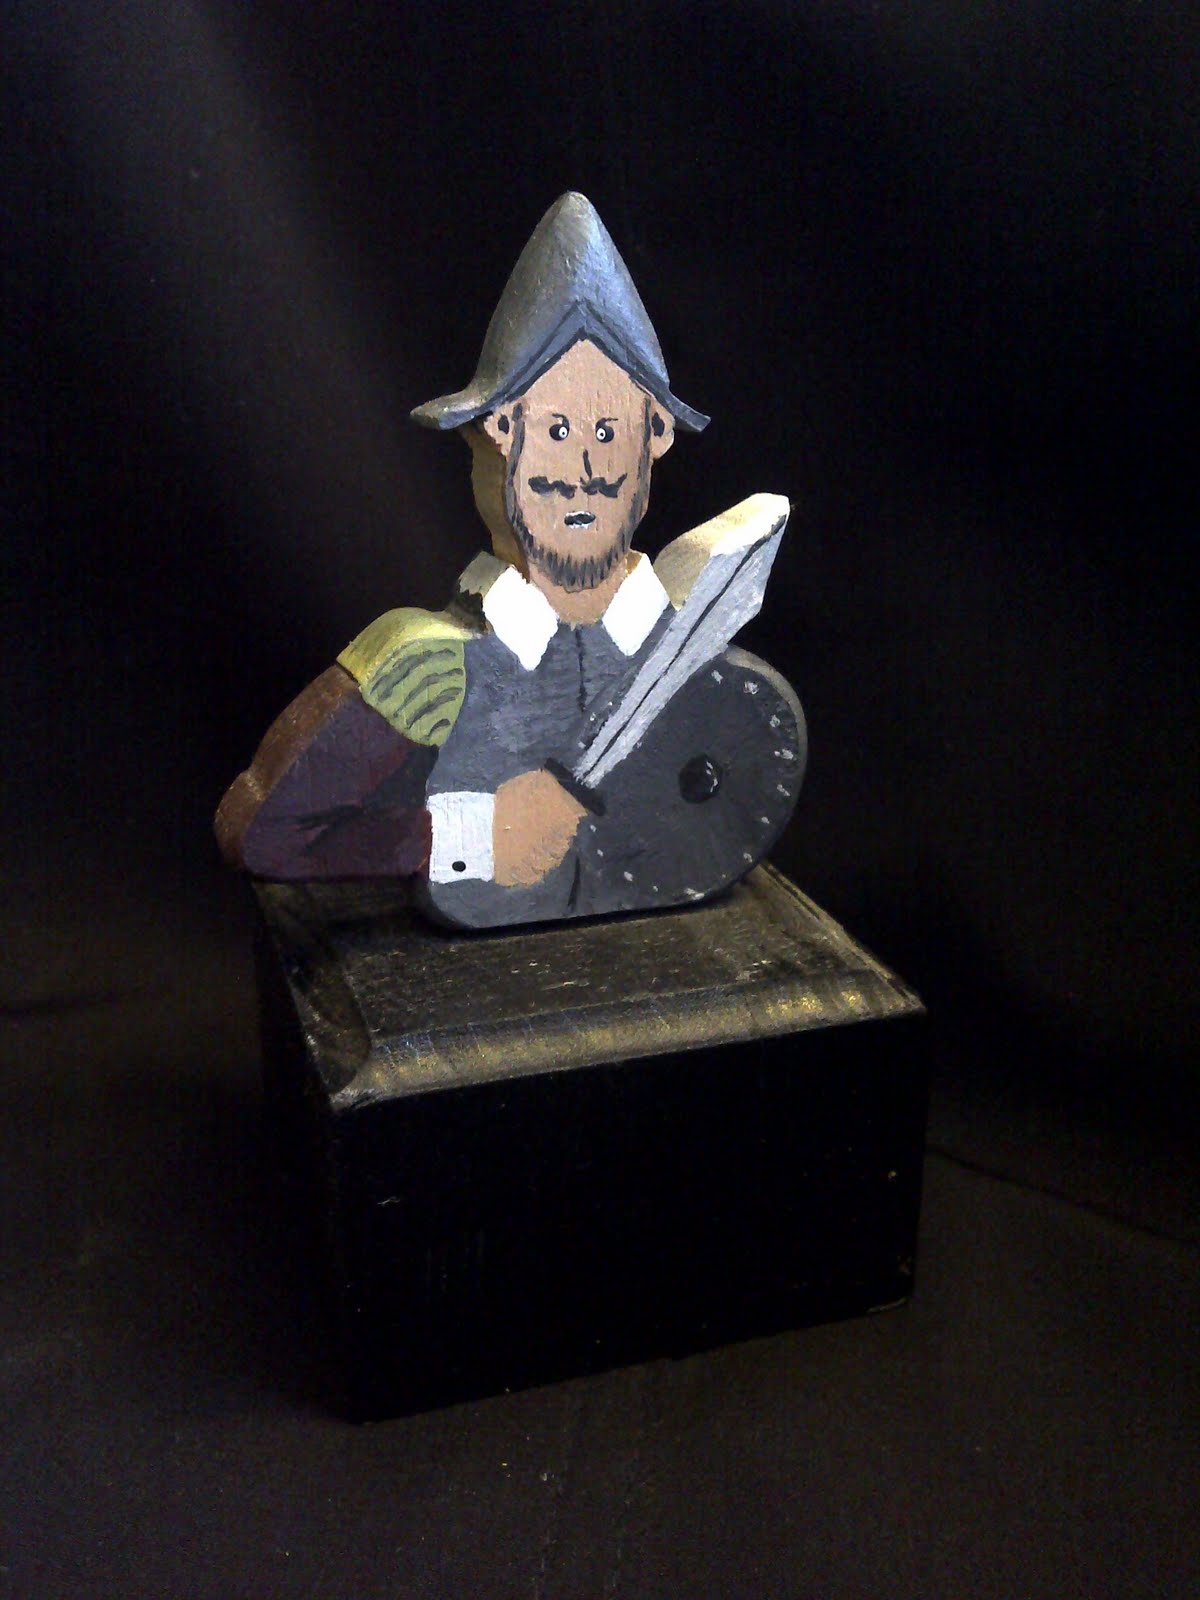
 Random picture with a piece placed on top.  I usually don't build things with exact lines and precise measurements (laziness being one reason), but I do like the straight geometric nature of this puzzle.  In order to glue the pieces together perfectly straight, I built a separate little jig with three pieces of wood at right angles.

This final picture shows the 7 unique shapes made out of the 27 little blocks.  As you can obviously tell, the picture was taken on a different day from the others, with much different lighting.

WALNUT BLOCK:  This is a block of walnut about 1.5" x 2" x 4".  The puzzle is very basic in design, but can be difficult to solve.   
 The puzzle was made by running the block length-wise through the scroll saw three times in non-uniform wavy lines.  Once the cuts were made, I put the three pieces back in place and taped the block back together with masking tape.  Once taped, I turned the block on its side and ran another two wavy line cuts through the the piece. 
By making random cuts with no pattern, it left a lot of the pieces looking similar, but they only fit together in one way.  When all the pieces are scattered, it just looks like a random pile of wavy sticks.  Walnut is definitely the best wood for this one because it looks cool and the pieces won't break easily. The easiest way to solve it is to create the three layers separately and then stack them on top of each other.

Sunday, June 5, 2011

The Country Kitchen

For Christmas (2010), Karla and I decided to have a theme for our girl's gifts rather than a collection of random toys. We decided to build a play kitchen and then have the rest of the gifts compliment it (aprons, play food, play dishes, etc). I was going to build a kitchen from scratch, but then I ran into this kitchen at a local thrift store for only $7. I decided to remodel this one rather than build a kitchen from scratch. The first thing I did was remove the counter top. I knew that I wanted to put in a sink by hanging a metal mixing bowl; however, with only a single drawer across the front, a sink wouldn't work. I took apart the drawer and created one smaller drawer for the right hand side and framed out the left side to make room for the sink basin. Because the drawer face extended farther out than the rest of the bottom cupboards, I framed out extensions for the middle cupboard area into two separate spaces, one for the oven and one for a closed cupboard.


The counter top instantly became eye catching with a quick coat of glossy black paint and the sink fixtures. The sink is simply a medium size mixing bowl, hanging freely on its rim in a hole I cut out in the counter top. The faucet and handles are various painted PVC pipe fittings, glued together to make a faucet-like shape.


The oven and cupboard were made by hinging on doors and adding handles. I did cut out a window in the oven door and mounted a piece of plastic on the backside. The handle came from a broken towel holder, fixed between two wooden brackets on the side. The inside of the oven has a single suspended rack made from an old cookie rack. I hung a chain on the right hand side of the oven so that the door would not crash down flat every time it was opened. I also installed a small magnetic latch on the top side to stop accidental openings from getting bumped by crazy children.


After stocking the kitchen with pots and pans, dishes, utensils and play food, it is a fun play toy and fixture in our home now.


Family Puzzle

This is not actually a new piece. I built this for Karla when she was pregnant with our first child back in 2007. At the time, I had no idea that that same child would one day love to pull the puzzle down from the top of the piano and play with it over and over. All the pieces were cut from the same piece of 1" poplar. I stained the various pieces to add color contrast to the puzzle. The full puzzle stands 6" high and is a great family reminder in our home.