Saturday, November 28, 2009

Orrell Mission Plaque


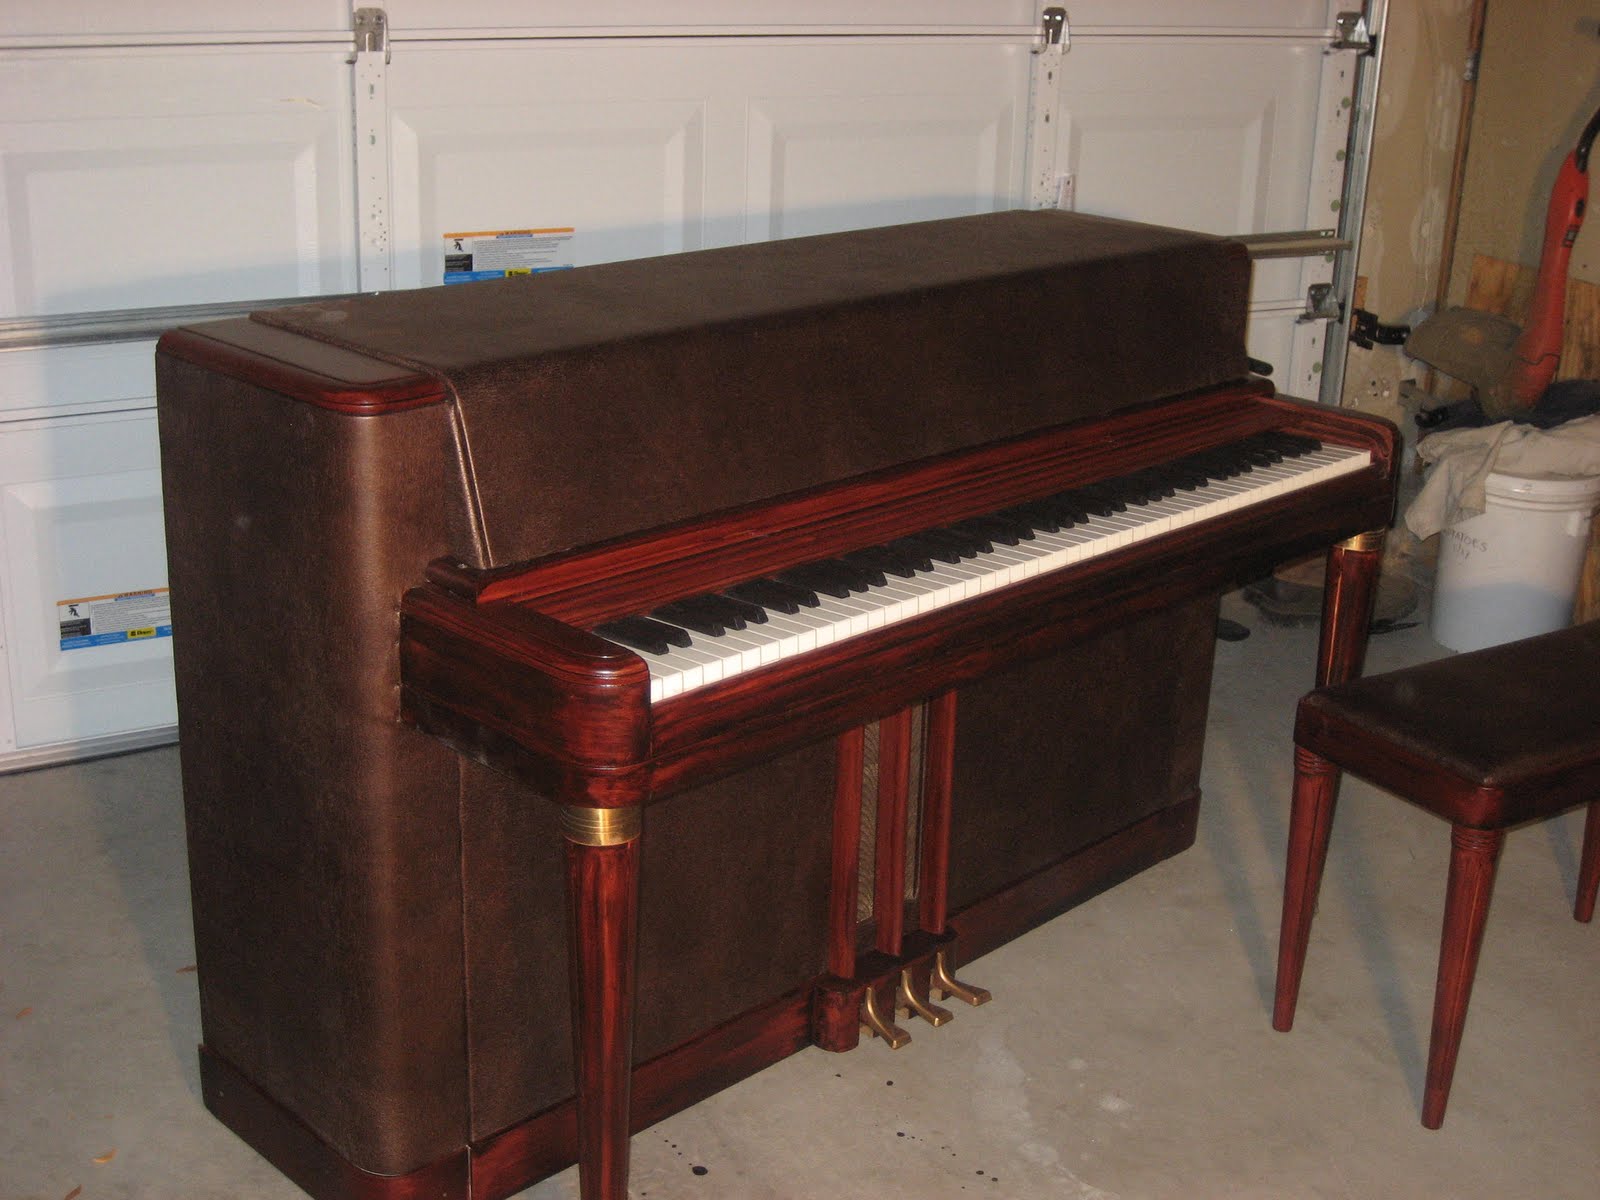
Prior to leaving on my mission to Thailand, I made my parents a mission plaque which represented all of the missions served by members of our family (I updated it when Brad received his mission call and will post it on this blog later on).  For Christmas this year, I made my in-laws a mission plaque to show their worldwide service.  The timing of our move resulted in some early Christmas gifts...like the piano in my last post.  All other Christmas gifts won't be posted until after Christmas.  The scripture in the top right hand corner is Matt. 28:19 "Go ye therefore and teach all nations..."


I timed myself on each of the sections of this project so I could best price the entire project for other people wanting one.  Hawaii took me the longest- 26 minutes on a scroll saw.  I knew that Hawaii natives would hold me accountable for each little cove on their island...for instance, I actually cut Pearl Harbor into Oahu.  The amazing part is I didn't even cut my fingers!  I think it turned out really cool.

Karla's dad served 6 months in Honduras, Nicaragua, Costa Rica and Panama.  I stained the wood to show the contrast between countries.  All the pieces on this plaque are cut from 1" Poplar stock.  I have come a long way since my first mission plaque in Jan. '03.  I also used shadow boxes with felt and velcro...that way adjustments and additions can be made easily within the box!

I tried having a local trophy shop engrave the flags on metal, but laminated paper glued to wood ended up looking better.  I woodburned the mission names under the respective flags.


Merry Christmas Tom and Barbara! 


Friday, November 27, 2009

The Piano

On Oct. 11th, Karla and I found this 1940 Wurlizter piano on craigslist.com for FREE! It is a very unique piano, as you can see, the majority of the piano is encased in leather. We knew Brian and Anna (my brother and sister-in-law) wanted a piano so we decided it would be our Christmas gift to them. When my Dad and I picked it up, it was in pretty bad shape and not very attractive. I decided to make it my first refurbishing project after an appraiser told me it would only sell for around $500 in good condition. He encouraged me to have fun with it as a project and reassured me that I wasn't ruining an "antique treasure". I took lots of pictures along the way to document the project. (Just in case it actually turned out well I could have proof that it started as an ugly piano)    You can see that the wood was damaged, lots of water spots and scratches. The finish was cracked in many places and the leather was...well, ugly.


The previous owners had written the names of the keys on random sections of the piano; however, those of you with piano skills will notice that they aren't even labeled right in some places!  I was able to use some "Goo Gone" to get the stickers and marker off and then polished the rest of the keys with soap and water.


The scrolling key cover and side pieces were in pretty bad shape.
The seat was chipped, scratched and ripped (leather).

The exterior of the piano was trashed; however, the interior was in great shape with the exeption of spider webs, layers of dust and other debris from being outside for a short time at the previous owner's house.  Amazingly, every key worked great...not in tune of course, but all the intricate pieces worked perfectly!


You can see where I ran a brush over the right side of the hammers.

This is the back of the piano.  It was full of sticks, leaves and dirt.

Here's a little "before and after" shot for you.  I used a wet/dry vac, brushes, rags, fingers and tweezers to get all of the dust, spider webs and lint out of the strings and casings.


Once the interior was cleaned, the sanding begun...Holy Cow. An electric sander worked well for the flat surfaces that wouldn't risk sanding any edging off; unfortunately, most of the piano was not flat surfaces. I used small woodcarving chisels and gauges to get into the cracks and edges. A couple of the pictures show the before and after contrast...pretty crazy!

 The key cover was by far the hardest and most time consuming piece to sand. Each strand had to be sanded carefully and the edges chiseled in between each piece.


Luckly I had a grinder to keep my tools sharp through the entire process.


The finish came off relatively easy with the chisels.  With applied pressure it would almost flake off, I didn't have to "carve" it off...thank heavens.


There were lots of tight spaces to get into. 

This picture gives another  good look at how flaked the original finish was.

The baseboards were really chipped and warped. I pried them off, sanded both sides and cleaned the piano behind them, stained them and reattached them.

All the wood sanded bare...it took 3+ weeks of work (2-5hrs/day) to get to this point.
Clean and bare.
The bare wood was really pretty and had a sweet smell to it.


Staining: I had a can of cherry stain that I had used on other projects; unfortunately, to get a really deep cherry red, you have to put many coats on it. This is after the first coat.


The first coat was very blotchy and uneven, I was trying to spread my small can of stain as far as I could on the first coat. When I went to pick up more stain for the additional coats, I found that every hardware store in Reno had discontinued my specific shade! I decided to layer the stains with a dark mahogony on top of the cherry. The mahogony would give the darkness I wanted with fewer coats and let the bright cherry red shine through it. After only 2 coats of the mahogony, the wood looked just like I wanted it.


I had to carefully tape around the keys to avoid stainng them.  No rushing around the keys.


Sometime during the sanding process, Karla and I decided that regardless of how great I made the wood, the leather would kill the overall look of the piano-especially given that all the furniture in Brian and Anna's living room is deep cherry red and dark brown leather. We knew we had to somehow replace the puke cream leather with a dark brown replacement. We took each piece of the piano and bench off and "releathered" it with an immitation leather we picked up. We worked together to stretch the leather and staple/tack it in place. Once assembled, the piano was finished!


What a fun project! We had to rush it once I took the job in Utah. I worked on it for 5-6 hours a day, often into the middle of night, the week before I moved. We didn't have any money for gifts this year, but we sure had a lot of time and energy.

Merry Christmas Brian and Anna! We hope you like it.