Saturday, March 31, 2012

The First Mission Plaque

I have previously posted a plaque that I made for my in-laws showing the locations where my wife's family members had served as missionaries for The Church of Jesus Christ of Latter-Day Saints.  I had mentioned that it was the second such plaque.  This is the first one I created back in 2003.
 This project started when I went to a Vietnamese restaurant with my dad after I received my mission call to Bangkok, Thailand.  They had a large wooden cut out of Vietnam on the wall that intrigued me.  I decided to go home and make a smaller cut out of Thailand.  When my mom saw it, she asked me to make her one and also one for my dad and brother's missions.  That gave me the idea to make a single wall hanging to highlight the family's service.
 When I originally made the plaque, my younger brother still had another 4 years before he'd receive a mission call at age 19.  I made a wooden cut out of a question mark to signify that we were still awaiting another mission call in the family (I'll have to post the picture later). When he received his call 4 years later to Chicago, Illinois I was relieved to see that it fit PERFECTLY in the gap I left.  I did not adjust the placement of any of the other shapes (crazy huh?)  I was terrified he'd get called somewhere with a long, horizontal shape like Montana or Russia.  It worked out great.
 On this original plaque, I wood burned a miniature map of the world on the top.  I woodburned the names of the missions on the actual mission shapes on this version as well rather than under the flag.  On the two later versions, I had at least one shape which was a group of islands (Hawaii & Philippines) so I wrote the names on the side rather than on the actual shape.

"Jenna's Princess Treasure Box"

Jenna (now 4 years old) had started showing interest in the money I leave on my nightstand each night.  I decided to make her a little treasure box so she could start collecting some "monies." 
 Some red felt helped it feel special. Jenna now calls it her princess treasure box.
  I added a sacagawea dollar to help her start her collection. 

Sunday, July 10, 2011

Office Bookshelf

Karla and I decided that we would refurbish a piece of furniture for my office (As my birthday present this year).  We picked this side table/shelf up at Deseret Industries for $15.
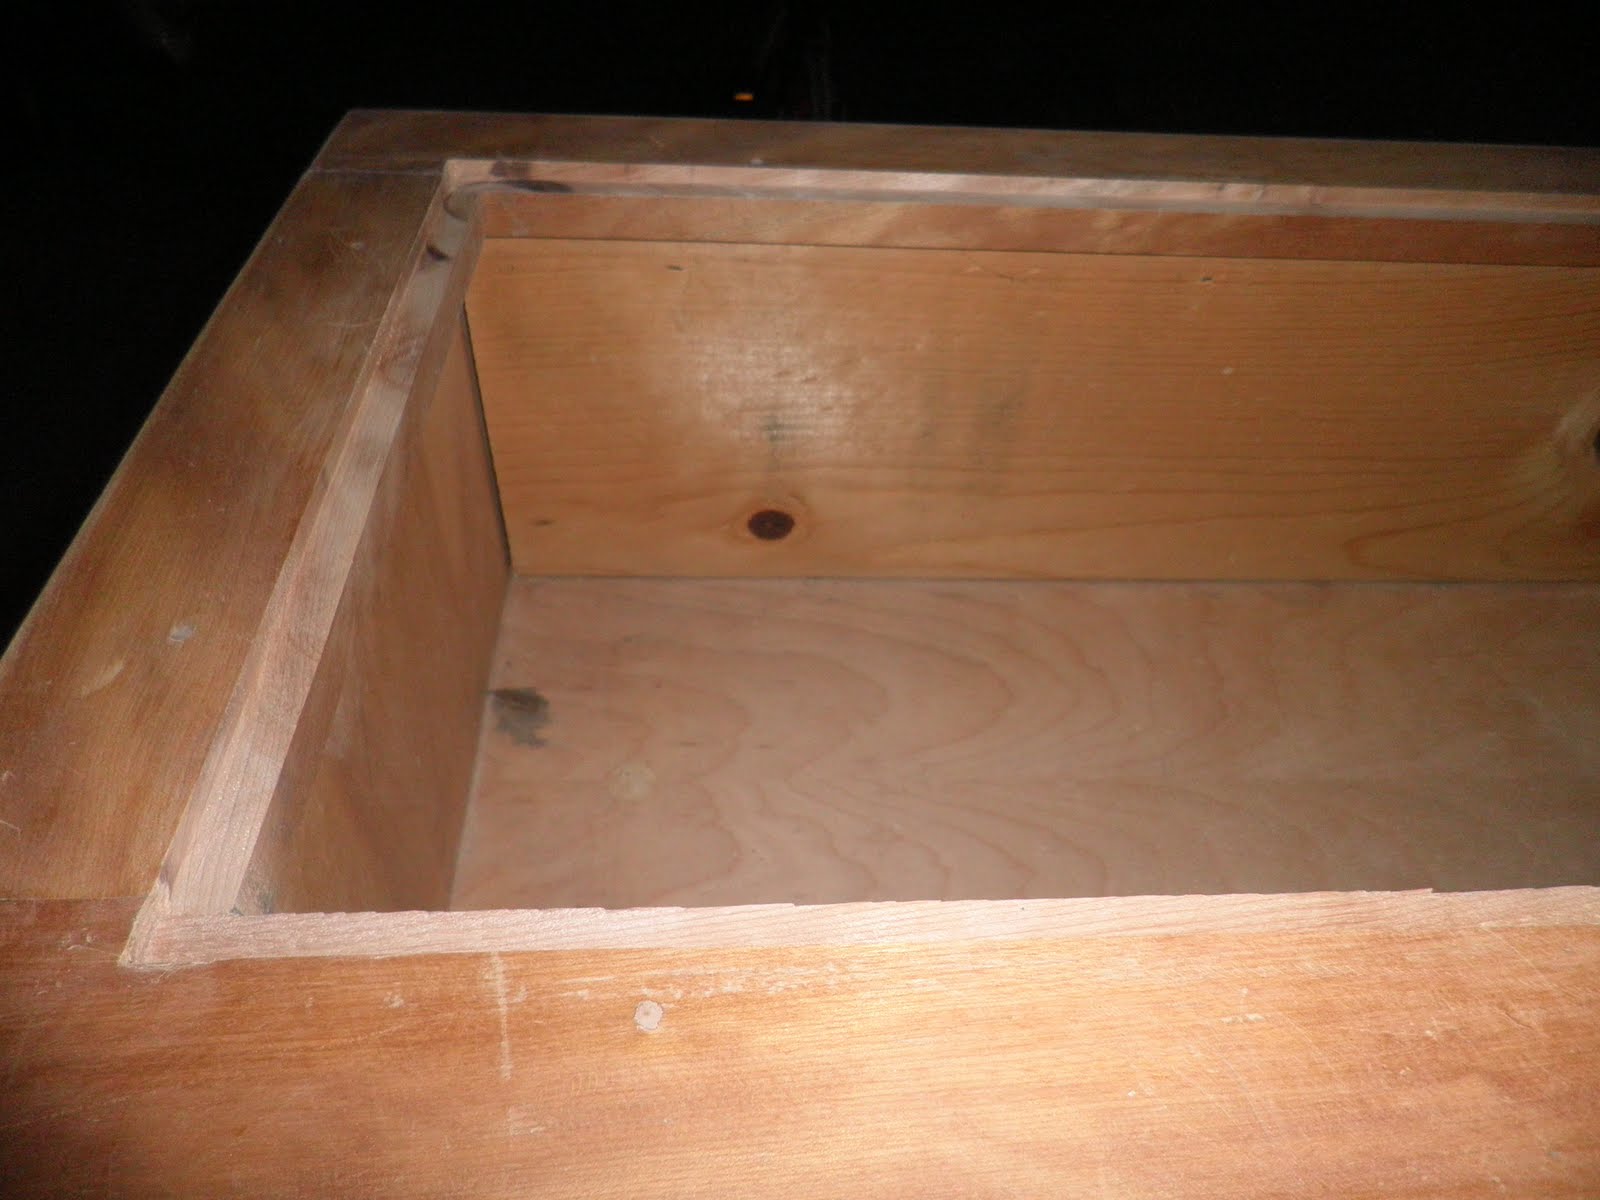
  The top of the table was open.  We figured it originally had a sheet of glass over the top. 
 Instead of cutting a large sheet of glass for the top, I routered out an edge in the top and put in a recessed piece of plexiglass.
I had to hand chisel out the corners for the glass to fit in the groove.
 I cut a small piece of 1/4" oak to span the gap in the middle so that we'd have two smaller panels of plexiglass.   The plexiglass in this picture looks foggy because I hadn't peeled off the protecting film yet.
 After sanding the varnish off the entire piece, Karla and I painted it with a glossy black paint.  We did this project in January '11, it was freezing cold in the garage every night, hence Karla's outfit. :)

This is how the final project now looks in my office.  We have since added a toy box on the bottom shelf so that the girls have something to play with when they visit for lunch.


Sunday, July 3, 2011

Piano Music Box


In 2002, I decided to make a music box shaped like a piano for my mother.  This was the result.  
 I wood burned her name "Lisa" into the top of the piano and burned each individual key onto the keyboard.  I purchased the legs from a craftstore.
 I found a little music box button meant for inserting in stuffed animals or other crafts.  It plays "My Favorite Things" from The Sound of Music. By no means is it a fancy music box that plays when you open the lid, but it still works. 
 When I built this project, I didn't know how to use a router and still used a scroll saw for everything.  I made the basic shape by stacking four layers of wood together and cutting the shape.  On two of the cut pieces, I cut out the middle and then glued them together.  If I was doing this again, I would probably try routering out a block of wood.
I remember being really proud of this project and was anxious to give it to my mom.
This was actually the first "piano" I have made.  I designed this basic piano representation as a gift to our choir director.  I later built one for my mom, just prior to making the piano above.  I also helped some friends make pianos for their senior prom dates and they wood burned various pictures/messages on the top.


Wooden Fire

I orginally built this for a Cub Scout Pack meeting where they wanted to pretend sitting next to a campfire (indoors of course).  Once I had cut it out, we ended up doing something else and I never got around to painting it or rigging in any kind of lighting.  I still think it is pretty cool though.
 The design is as basic as it could get-just two interlocking pieces.  I cut it out on the scroll saw and rounded the edges over with the router.  I think this still has some potential later on.

Mt. Rose Hike Tracker

When we moved to Reno, NV in '99, my dad and I decided to hike to the summit of Mt. Rose, a peak that overlooks the Reno area, at least once a year.  I built this little project for my dad to record how many times he had hiked the peak.  There are not enough beads now, but he now writes the dates on the sides of the beads. 

The peaks and trail marks are a rough representation of the trail.  The trailhead has since been moved about a 1/4 mile away, changing the first portion of the trail significantly.  It's a fun casual hike for most ages.

Palm Tree Pencil Holder

This was simply a random project I built in an afternoon for fun.  I wanted to try some different things with my router and ended up with the two middle blocks and I quickly threw together the rest.

 The leaves were cut out on my scroll saw and mounted on wire hanger pieces.
 Pretty random project, but whatever.